Automations
Canvas notes start as a “blank canvas.” You can add commands as needed to document your patient encounters. Automations serve to accelerate that documentation, serving as templates that either leverage a single pre-filled command, or a series of commands. Setting up automations for different types of encounters can dramatically. increase your efficiency
Creating a Personal Automation: #
To create a personal automation in Canvas, you should start by creating a test patient. Once you have created the patient, open an empty note and enter the desired command(s). Once the command is complete, click the triple dot menu on the right-hand side and select “Create or update an automation”. A drop-down field will appear where you can type the desired title for the automation. Once you have entered the title, select “Create new automation” to commit.
Tips for creating Automations #
- We recommend creating a test patient specifically for creating automations. This will not only keep a record of the commands you’ve added to an automation, but allow a safe place to ensure you are not including a specific patient’s information into an automation. If you delete the commands that were used to create the automation, the automation will break.
- If you create a task command and assign it to a care team role, the automation will leverage that role, rather than the individual assigned.
- Some commands are not available to include in an automation at this time, these commands include the assess command or the allergy command. The information collected within these commands is specific to the individual patient and will need to manually entered into the note.
- Prescribe Command: We recommend leaving the indications and pharmacy fields blank when adding a prescribe command to an automation.
Adding to an Existing Automation: #
To add to an existing automation, start by creating a test patient in Canvas. Open an empty note and enter the desired command. Once the command is complete or recorded, click the triple dot on the right-hand side and select “Create or update an automation”. Type the name of the existing automation in the drop-down field and select it from the list.
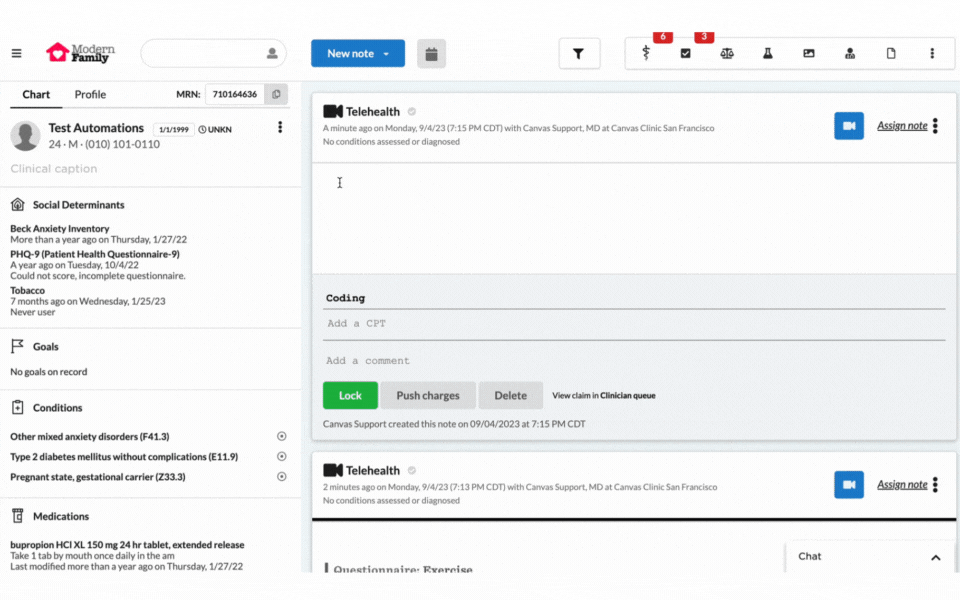
Using an Automation: #
To use an automation, navigate to the desired patient and open a new note. Type the title of the desired automation in the note and arrow down to select it from the list. The automation will be indicated by a lightning bolt symbol. All previously saved commands within the automation will fill the note. You can edit and record any of the commands within the new note.
Sharing an Automation: #
Once created, you can choose to share an automation across the organization. To do so, navigate to your admin menu and select “Automations” under the Practice heading. Locate the desired automation and click on the name to open the “Change Automation” form. Select the checkbox next to “Shared” and select “Save”.
Updating an Automation: #
To modify an existing automation, begin by accessing a test patient created in Canvas. Open an empty note and add the desired automation. Next, navigate to Canvas Admin and delete the existing automation. Return to the test patient and refresh the page. Make any necessary changes to the commands and resave the automation under the same name.
Deleting an Automation: #
To delete an automation, navigate to your admin menu and select “Automations” under the Practice heading. Locate the desired automation and click on the name to open the “Change Automation” form. Select “Delete” and a page requesting confirmation will appear. Select “Yes, I’m sure” on the confirmation page. Note that shared automations should not be deleted unless all users of the automation are aware and approve of the changes.