PDF Annotations
PDF annotations allow users to interact directly with any uploaded document within Canvas. Some example use cases for PDF annotation include:
- Highlighting or underlining critical information within a document for users to easily spot before the document is added to a patient’s chart.
- Including important comments or symbols on a specific type of document for future reference by all members of the organization.
- Allowing providers to directly sign a lab report, imaging report, specialty consult report, or uncategorized clinical document within Canvas prior to delegating the review to another team member or attaching to the patient chart.
- Splitting document packets into multiple specific pages to be associated to different document types and patients
- Removing unnecessary pages from an uploaded packet, rotating pages for easy review, and redacting information with solid boxes when such changes are needed by document

Users can annotate documents from three helpful locations:
- From Data Integration, before a document is associated to a patient
- From each labs, images, specialty consult reports, and uncategorized clinical document reports panel.
- From the patient chart when clinical documents are being reviewed
Enabling PDF Annotations #
In order to enable the PDF annotation functionality, administrators must contact Canvas support to configure this feature within any instance. If utilizing the permissions functionality, the Data Integration and Clinical Read/Write restrictions will prevent certain users from utilizing the annotation functionality. If not utilizing the permissions functionality, annotations cannot be restricted by user roles.
Given that there is a pass through cost associated with the utilization of the PDF annotation functionality, it is important for all customers to understand the cost and full capabilities of this feature. There are guardrails in place to ensure that when the functionality is enabled, users understand the cost implications of utilizing within any given document as the cost is calculated per utilization.
As a user selects the annotate button, prior to accessing the functionalities, there is a confirmation popup asking if the user is sure about utilizing. If a user cancels, they are brought back to the previous view, but if a user confirms a new version of the document is displayed with all functionalities. This cost warning popup can be disabled if desired.
Annotating in Data Integration #
Once a document is available within Data Integration, and PDF annotation is enabled in an instance, a user will see an annotation button above the patient name field. This button will be included per each document faxed or uploaded.
Users have the ability to determine whether they want to annotate a document or not. Users can either annotate a document before or after linking to a patient and choosing the document type value. This allows customers to determine the most appropriate workflow for their teams.
When users want to annotate a document, they are able to click the Annotate document and after confirming the associated cost popup, a new version of the document with annotation capabilities will appear.
Users are able to take the following actions within the annotations feature:
- Insert annotations such as underline text, highlight text, insert boxes, type in text (with preferred font style and size), and strikeout text.
- Insert comment bubbles in any part of the document
- Insert shapes that are free drawn or part of a set list of options
- Insert stamps, signatures, images, or call outs in any part of the document.
- Insert cross, ticked, or dotted check boxes when appropriate with the ability
- Review pages side by side and rotate specific pages when necessary
Many of the actions allow for flexibility of color used and can be undone if needed. Any annotation action can be removed prior to the document being saved.
Once a document has been annotated and is ready to be saved, users simply click the save button on the top right corner of the menu bar. Once the document is saved, a user is able to associate it with the corresponding patient.
If users make annotations to a document, and in the process of associating to a patient forgets to save their annotations, prior to the document being associated, there will be a popup confirming the action a user was intending to take.
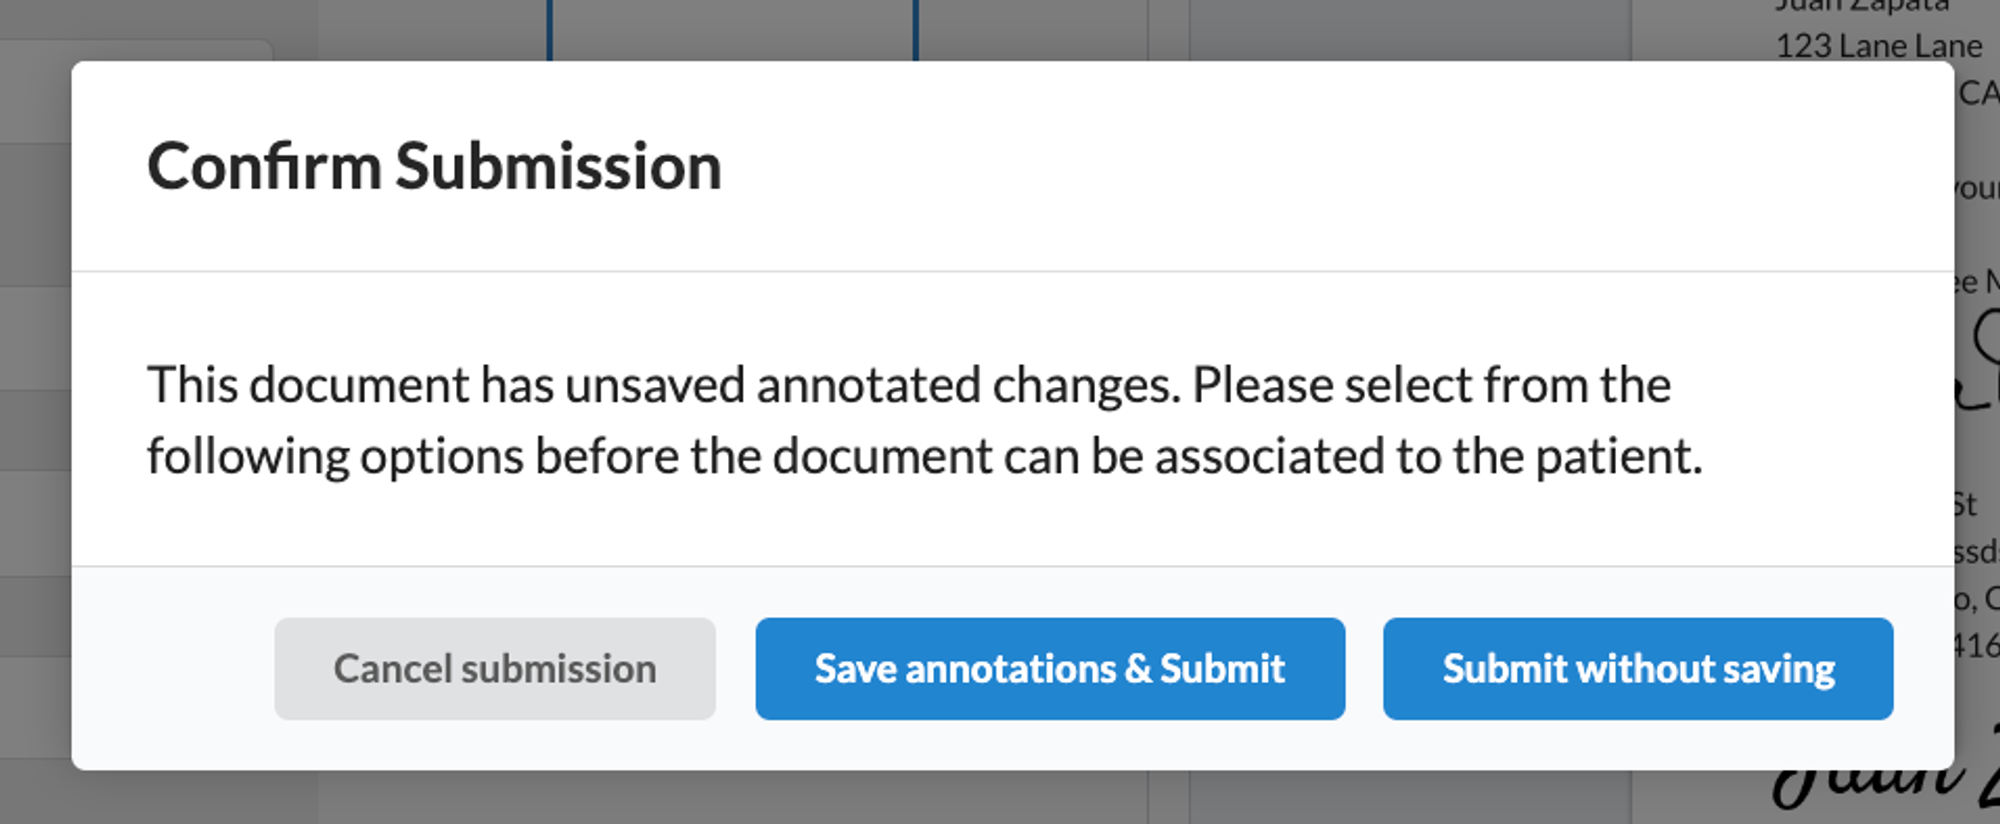
- Selecting Cancel submission, the user is taken back to the annotation view to take any action they want
- Selecting Save annotations & Submit, the annotations will be saved and included in the version of the document associated with a patient
- Selecting Submit without saving, none of the annotations will be saved to the version of the document associated with a patient
Once an annotated document has been saved to a patient, a user is able to find it on the patient chart in the corresponding section of the document type. (Ex. Consents will be found on the consent link of a patient’s profile or within the documents section of the patient chart). Once an annotated document has been associated with a patient’s profile, it can be printed,attached to a letter to be faxed, linked to tasks, or reviewed.
Any annotated documents that have a review document type association can also be found within the review workflow. These document types include:
- Imaging Report
- Lab Report
- Specialist Consult Report
- Uncategorized Clinical Document (which is its own document type AND the below document type drop down options appear within the uncategorized clinical documents when reviewing on schedule view)
- Care Management
- Emergency Department Report
- External Medical Records
- Home Care Report
- Hospital Discharge Summary
- Hospital History & Physical
- In-Office Testing
- Nursing Home
- Operative Report
- Patient Intake Form
- Physical Exams
- Prescription Refill Request
- Rehabilitation Report
User can also forward the saved document with the Forward by Fax functionality.
Extracting specific pages from a multi-page packet #
When selecting to annotate and modify a document, users are able to select specific pages from the thumbnail sidebar to be associated to a specific patient and document type. Users select pages by using the checkbox at the top right corner of each page thumbnail. If a user wants to associate a full packet to 1 document type for 1 patient, there is no need to select any pages. Users can annotate pages as they select them for extraction.
Any remaining pages can be submitted as a new document type to a patient, ensure that you are reselecting a patient name and document type to complete these steps. Users also have the ability to delete any specific pages from a packet if the page does not need to be included.
For any last document association to a patient, there is no need to select any pages as all remaining page(s) will be automatically associated. If attempting to select the last remaining page thumbnails, a warning will appear. Simply uncheck the pages and submit the remaining pages without any checked boxes.
Annotating in Clinical Review Workflow #
When selecting New Labs, New Imaging, New consult reports, or New uncategorized reports from the action center, users are able to annotate any document within these workflows.
When a user selects to annotate any of these clinical review documents, the same functionalities and user experiences from Data Integration are available:
- Popup confirmation of cost association
- Annotation functionalities once they service is confirmed for utilization
- Submission confirmation if an annotate document is not saved
- Annotation to the patient chart with annotations included
The associated command information can also be inputted through this workflow for a seamless user experience. Once signed the command and annotated document will be added to the patient’s timeline as a Chart Review.
Annotating in Patient Chart #
From the patient chart, users are able to annotate New Labs, New Imaging, New consult reports, or New uncategorized reports.
When a user selects to annotate any of these clinical review documents, the same functionalities and user experiences from Data Integration are available:
- Popup confirmation of cost association
- Annotation functionalities once they service is confirmed for utilization
- Submission confirmation if an annotate document is not saved
- Annotation to the patient chart with annotations included
The associated command information can also be inputted through this workflow for a seamless user experience. Once signed the command and annotated document will be added to the patient’s timeline as a Chart Review if the cursor is not placed on an open note. If the cursor is place on an open note, the command will be added within the note.
Annotation Functionalities #
This feature has an extensive list of possible actions that can be taken on a document. Below is a quick summary of possibilities within this workflow.
Top bar navigation #
- Downloading, printing, and document settings
- Page setup settings
- Zooming capabilities
- Dragging and cropping
- Document comments review
- Searching of words or phrases
- Saving
- Drop down of additional actions: view, annotate, shapes, insert, edit, fill & sign, and forms (each will be explained in more detail below)
Additional Actions #
- View: Allows for viewing of the full documents with no inserting actions needed
- Annotate: Allows for inserting the necessary annotations within the document. This includes underlining, highlighting, insertion of squares, text input, freehand highlighting, free hand underlining, insertion of notes, and strikethroughUsers can also erase any annotations added
- Shapes: Allows for inserting free hand shapes or those already provided by the feature
- Insert: Allows for inserting stamps, signatures, images, and call outs. Within signatures, users can free hand a signature, allow for signatures to be created based on typed words or upload a signature that a user may prefer. We recommend that signatures are saved so that they can quickly be uploaded if that is the preferred need.
- Edit: Allows for cropping the document into a new version of the document. Note that if a document is cropped, the cropped selection becomes the new version of the document and the original version will not be saved.
- Fill & Sign: Allows for inserting rubber stamps, text, signatures, check boxes, and dates.
- Forms: Allows for creating interactive form fields on a document that can be filled in by users after they have been saved to a patient’s profile. Form capabilities include: signature, checkbox, radio buttons, and list selections. Once form value have been filled in, the document must be downloaded from Canvas with changes made option in order to keep the form changes. We recommend the new version of the document be uploaded and added back to the patient chart if required.
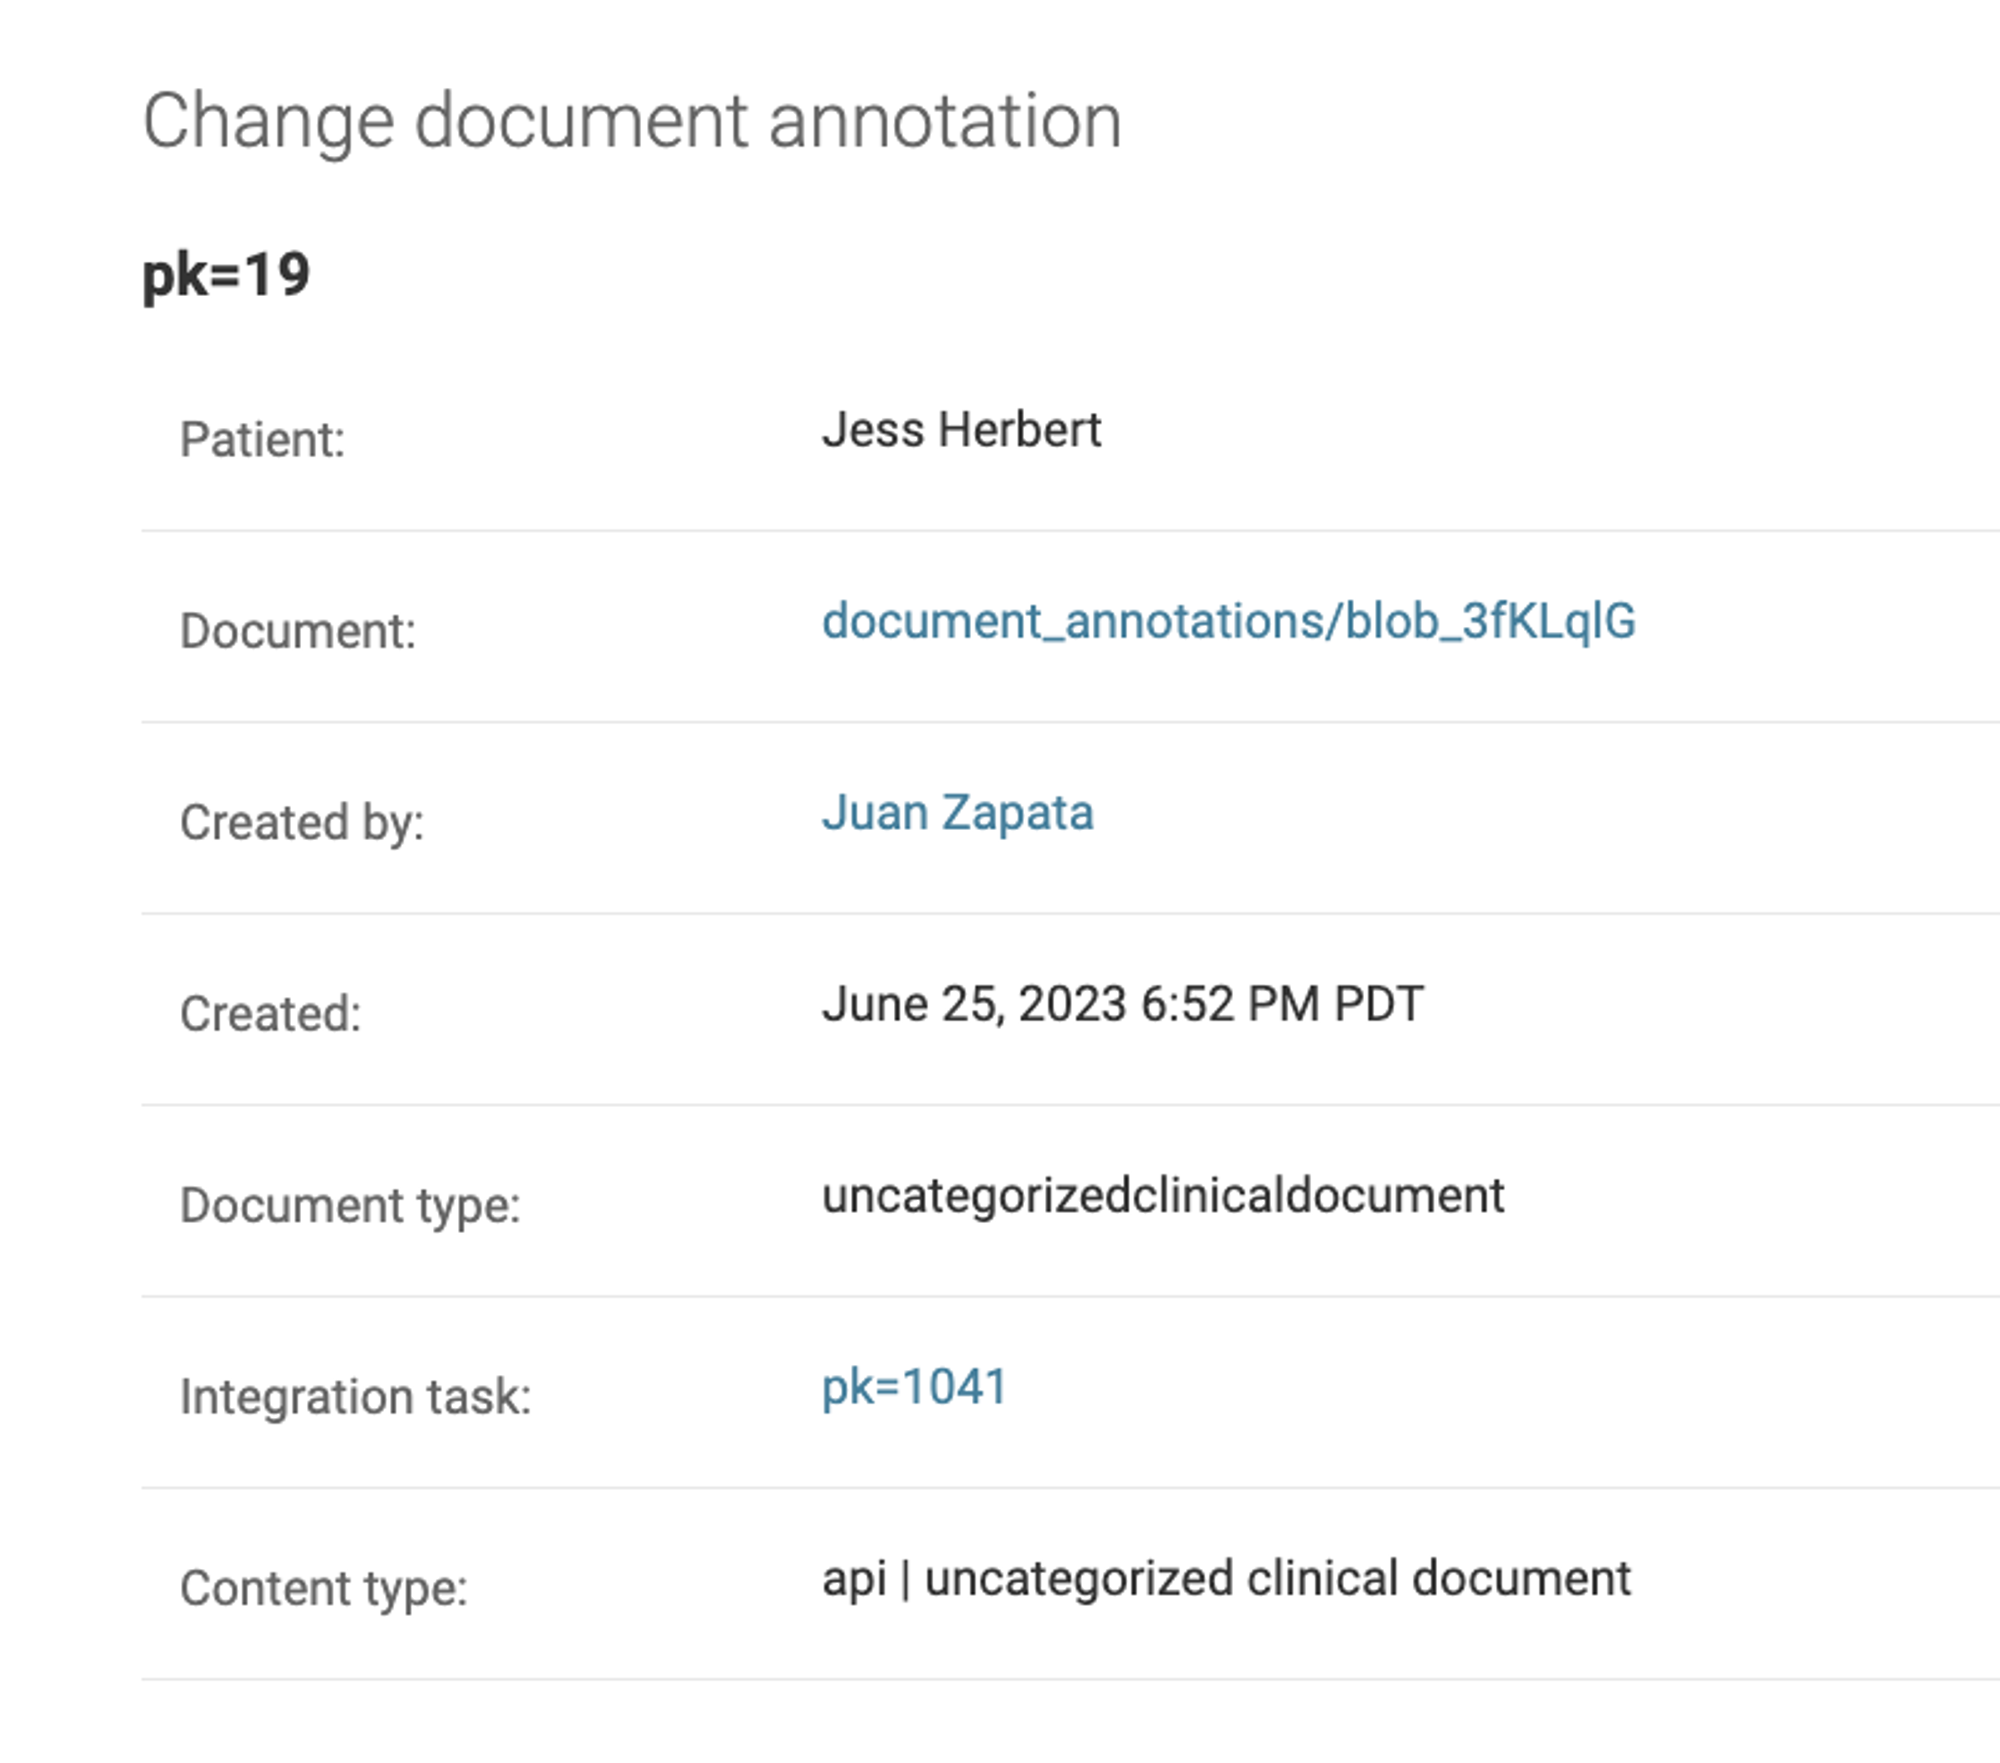
History of Annotated Documents #
The original version of the document is stored and can be access via Settings within the Document Annotations page. Once a specific annotated document is selected the Integration task will link to the original version of the document (Settings > Document Annotations > selected document > Integration task > Document). For use cases in which Administrators need to review what team members made annotations to a document, what the annotations were, and when, this information is located within the Settings section of each instance. Under the Practice header, Administrators will see a Document Annotations page which will list all annotated documents, within each document the following is visible: